DDPAI Z60 Dash Camera Complete Review
BACKSTORY
Dash cameras have become an essential resource for rideshare drivers, providing crucial benefits that enhance safety, protect against false claims, and uphold a high standard of professionalism. Given that rideshare drivers spend significantly more time on the road than the average driver, they are at a higher risk of encountering various incidents.
Investing in a dash camera not only provides peace of mind but also serves as an effective way to protect yourself from any unforeseen events. With video evidence at your disposal, you can navigate the challenges of driving rideshare with greater confidence and security. Why take chances when you can have a dash camera to safeguard yourself from potential mishaps?
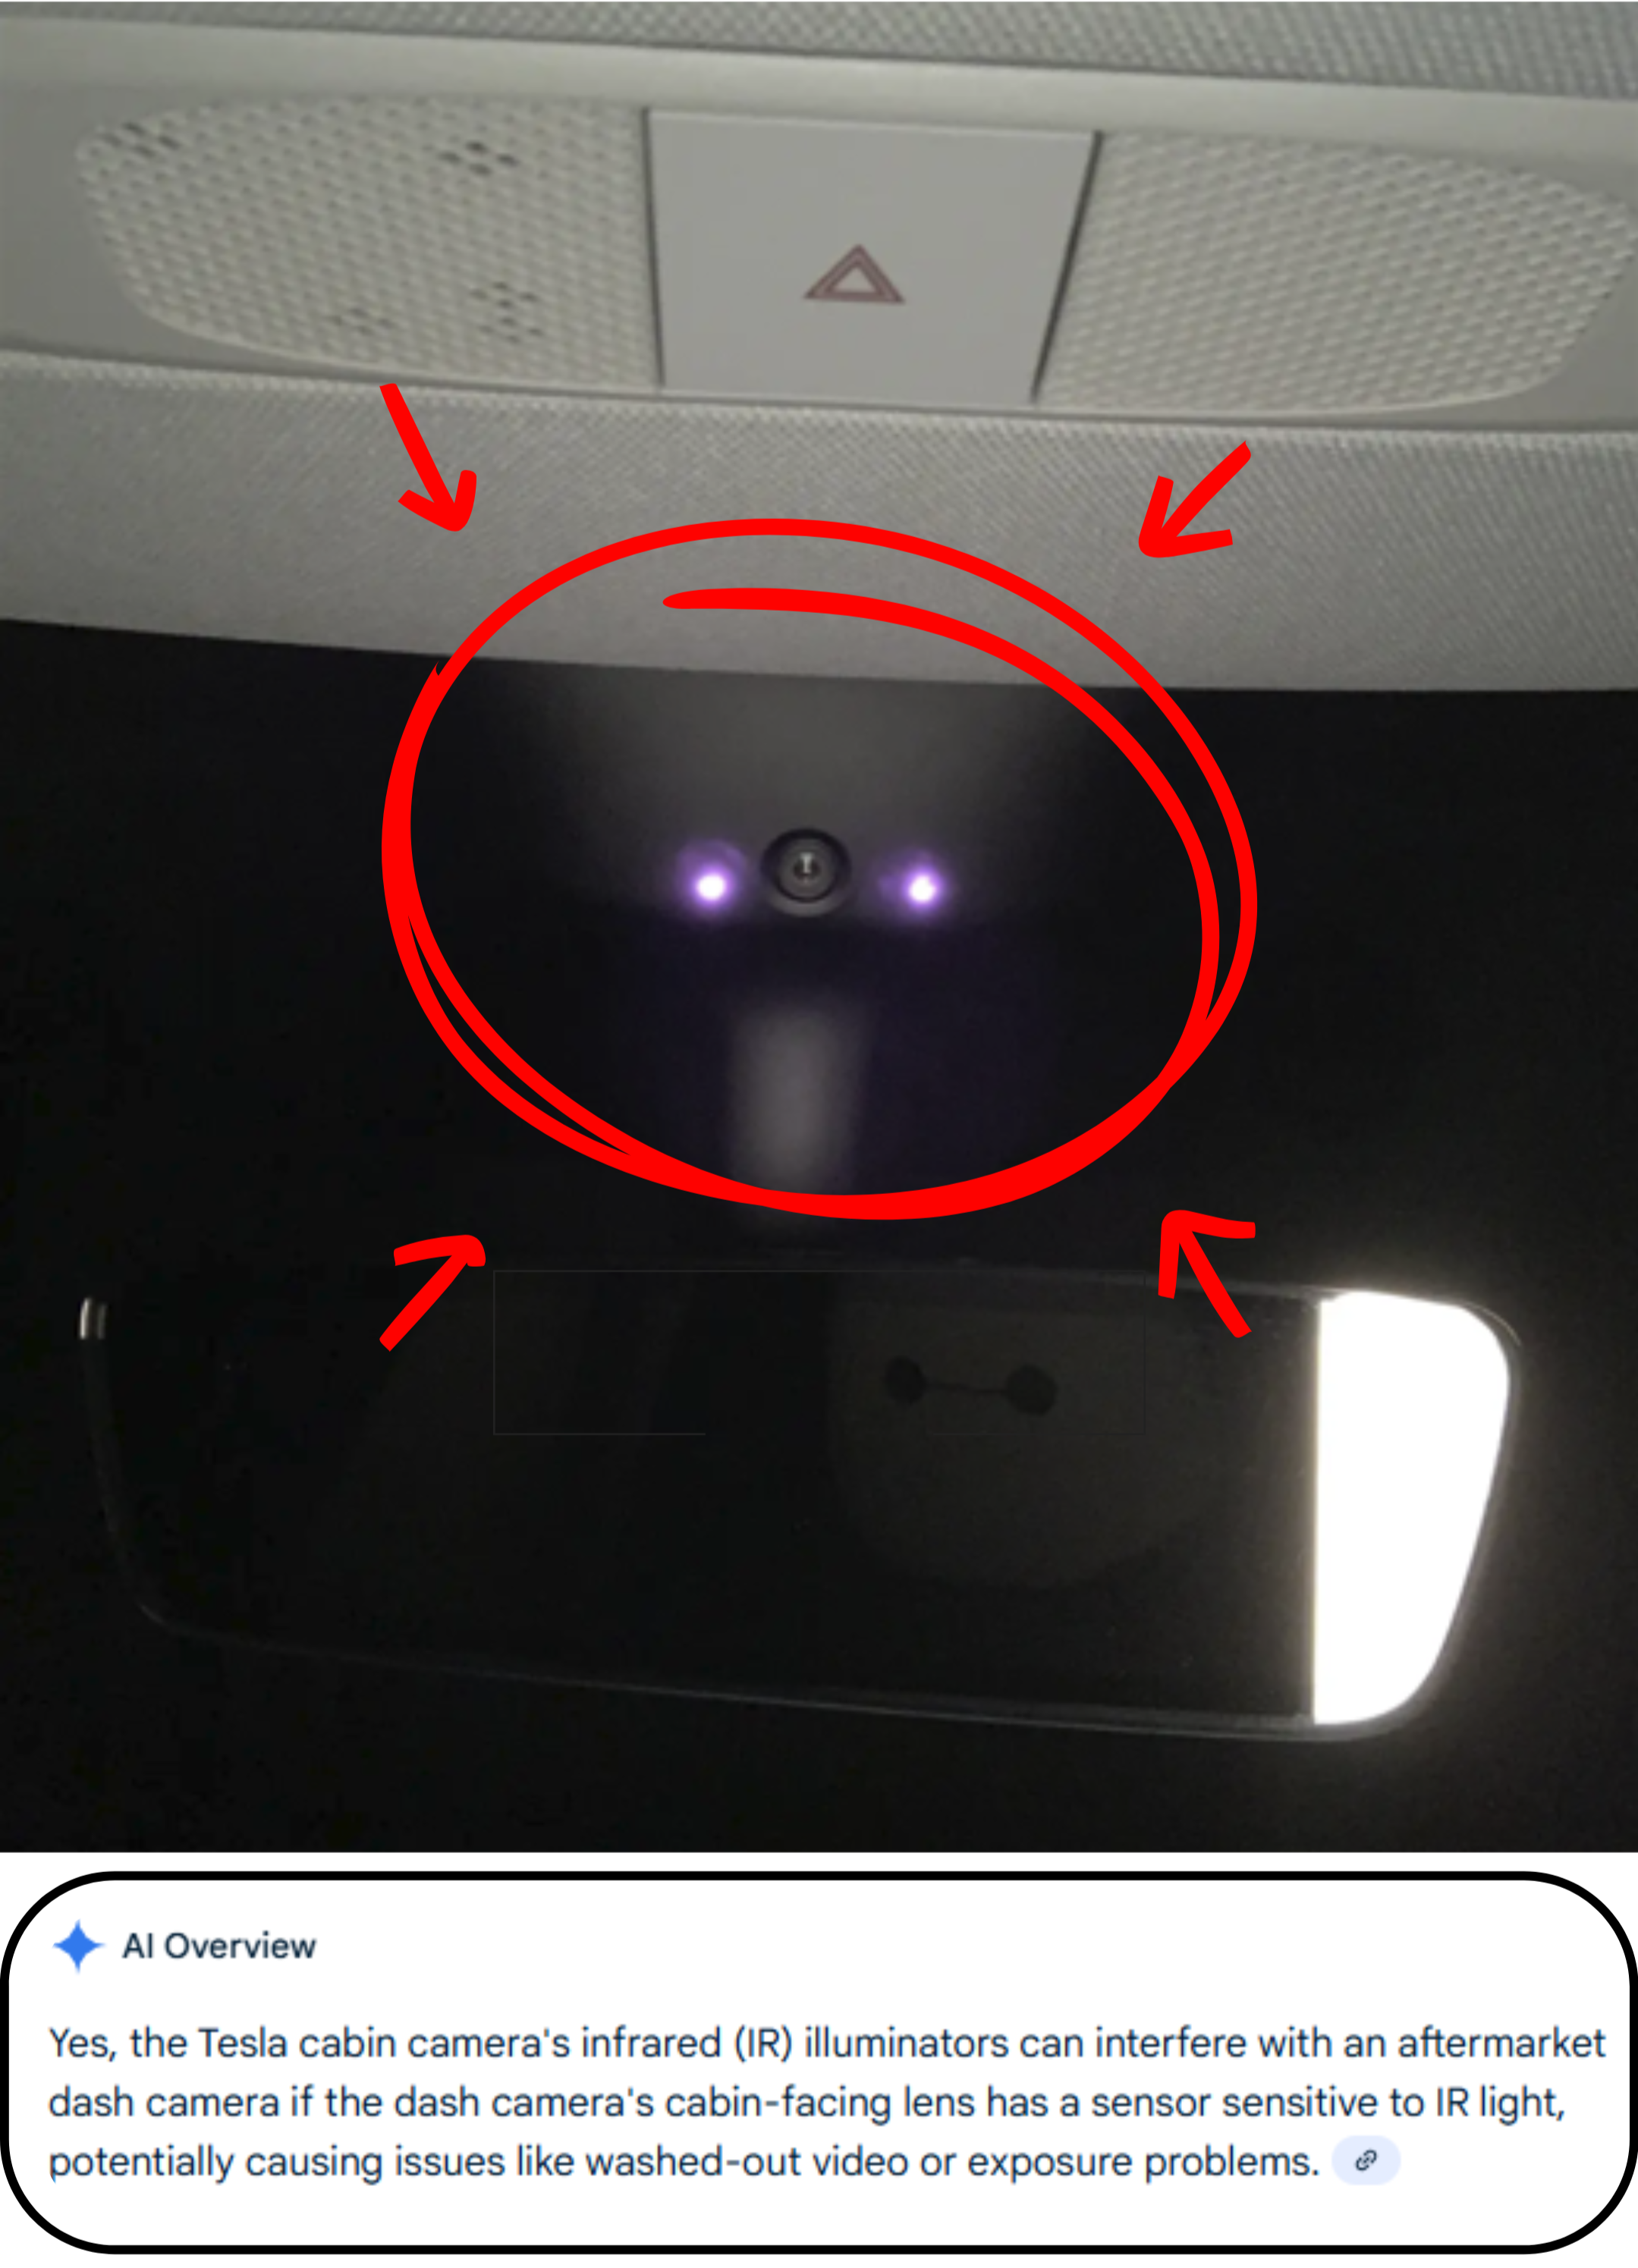
My Tesla needed a dash camera upgrade, so I started searching for one that would better accommodate my needs as a gig worker. I was previously using the Vantrue N2X dash camera but I was facing challenges with the infrared system in the Tesla's cabin interfering with the aftermarket camera's night vision performance. There was nothing inherently wrong with the Vantrue camera—I simply needed a solution that could effectively capture my rideshare experiences during nighttime hours.
The decision was made simple when DDPAI reached out to me, offering their Z60 3-way dash camera in exchange for an honest review.
WHAT’S IN THE BOX?
I recently received a hefty shipping box at my doorstep, and I couldn’t wait to dive into the unboxing! Upon opening it, I discovered three separate packages nestled inside a sleeve that held all three items. The largest housed a two-channel dash camera unit, complete with all the necessary cables. Another box contained the third channel, which is the cabin camera, perfect for capturing everything happening inside the vehicle. The final package included even more cables.


What’s Included:
2160p Dash Camera (Main Unit)
1440p Interior Cabin Camera
1080p Interior Rear Camera
Z60 User Guide
MINI2X User Guide
πLINK Wiring Diagram
12-volt USB Car Charger (x2)
Installation Crowbar Tool (x2)
Extra 3M Dash Camera Sticky Tape (x2)
Electromagnetic Stickers (x4)
Multiple Charging and Connector Cables
I have to say, all of the components look and feel solid, especially the cables. They seem robust and ready to withstand the rigors of daily use driving rideshare. Overall, I’m excited to set this up and enhance my driving experience with this new dash camera system!
INSTALLATION
One of the greatest advantages of the DDPAI Z60 dash camera is that it’s designed for easy installation—there’s no need to be a tech expert! Setting up the head unit is probably the easiest part of the process. If you don’t consider yourself handy or tend to get frustrated with new gadgets, consider opting for professional installation.
While the installation and setup of this system do require some effort and cable management skills, the package includes several helpful tools to make the process smoother. A little planning ahead can save you time and minimize any potential frustration.
tart by cleaning the inside of your vehicle's windshield with glass cleaner, followed by wiping it down with an alcohol pad. While the windshield is drying, use the WiFi feature on your smartphone to determine the best mounting location for the dash camera by finding its optimal viewing angle.
Once you've selected the spot, firmly press the mounting plate against the windshield to ensure it sticks securely. This plate will hold the bracket that the head unit slides onto. Although you have the option to use a static cling sticker for added support, I decided to forgo that choice.
The head unit sticks to that static cling and you have to run power to the device. There are two options to do this. One is through one of the many USB-C to A cables that are included in this set. One of the most different parts of installation is running the cables and tucking them out of the way so that they’re not a hazard. You can power this through a direct connection via your vehicle’s fuse box or an included cigarette lighter port adapter for USB-A. I went the port adapter direction because I worry about potentially draining the battery if the car is left for a long time. I also wanted more flexibility in installation.
Setting up the interior cabin camera was a breeze! Being smaller in size, it’s easy to find a discreet spot on the windshield for installation. I used DDPAI’s innovative and user-friendly smartphone app to help determine the best viewing angle.
Before you can access video through the app, you’ll need to “pair” this second camera with the main unit. And don’t forget to clean the area where you’ll attach the camera using glass cleaner and an alcohol cleaning pad for optimal adhesion. With these steps, you’ll have your cabin camera up and running in no time!
Once you’ve mounted both cameras, one of the most challenging aspects can be routing the cables so they don’t interfere with your driving or get snagged on anything. The instructions suggest tucking the cables behind trim pieces, and they even include a handy tool to help with the process.
This is where considering professional installation can be a real advantage. Having an expert handle the cable management can ensure a clean, safe setup that looks great and functions perfectly!
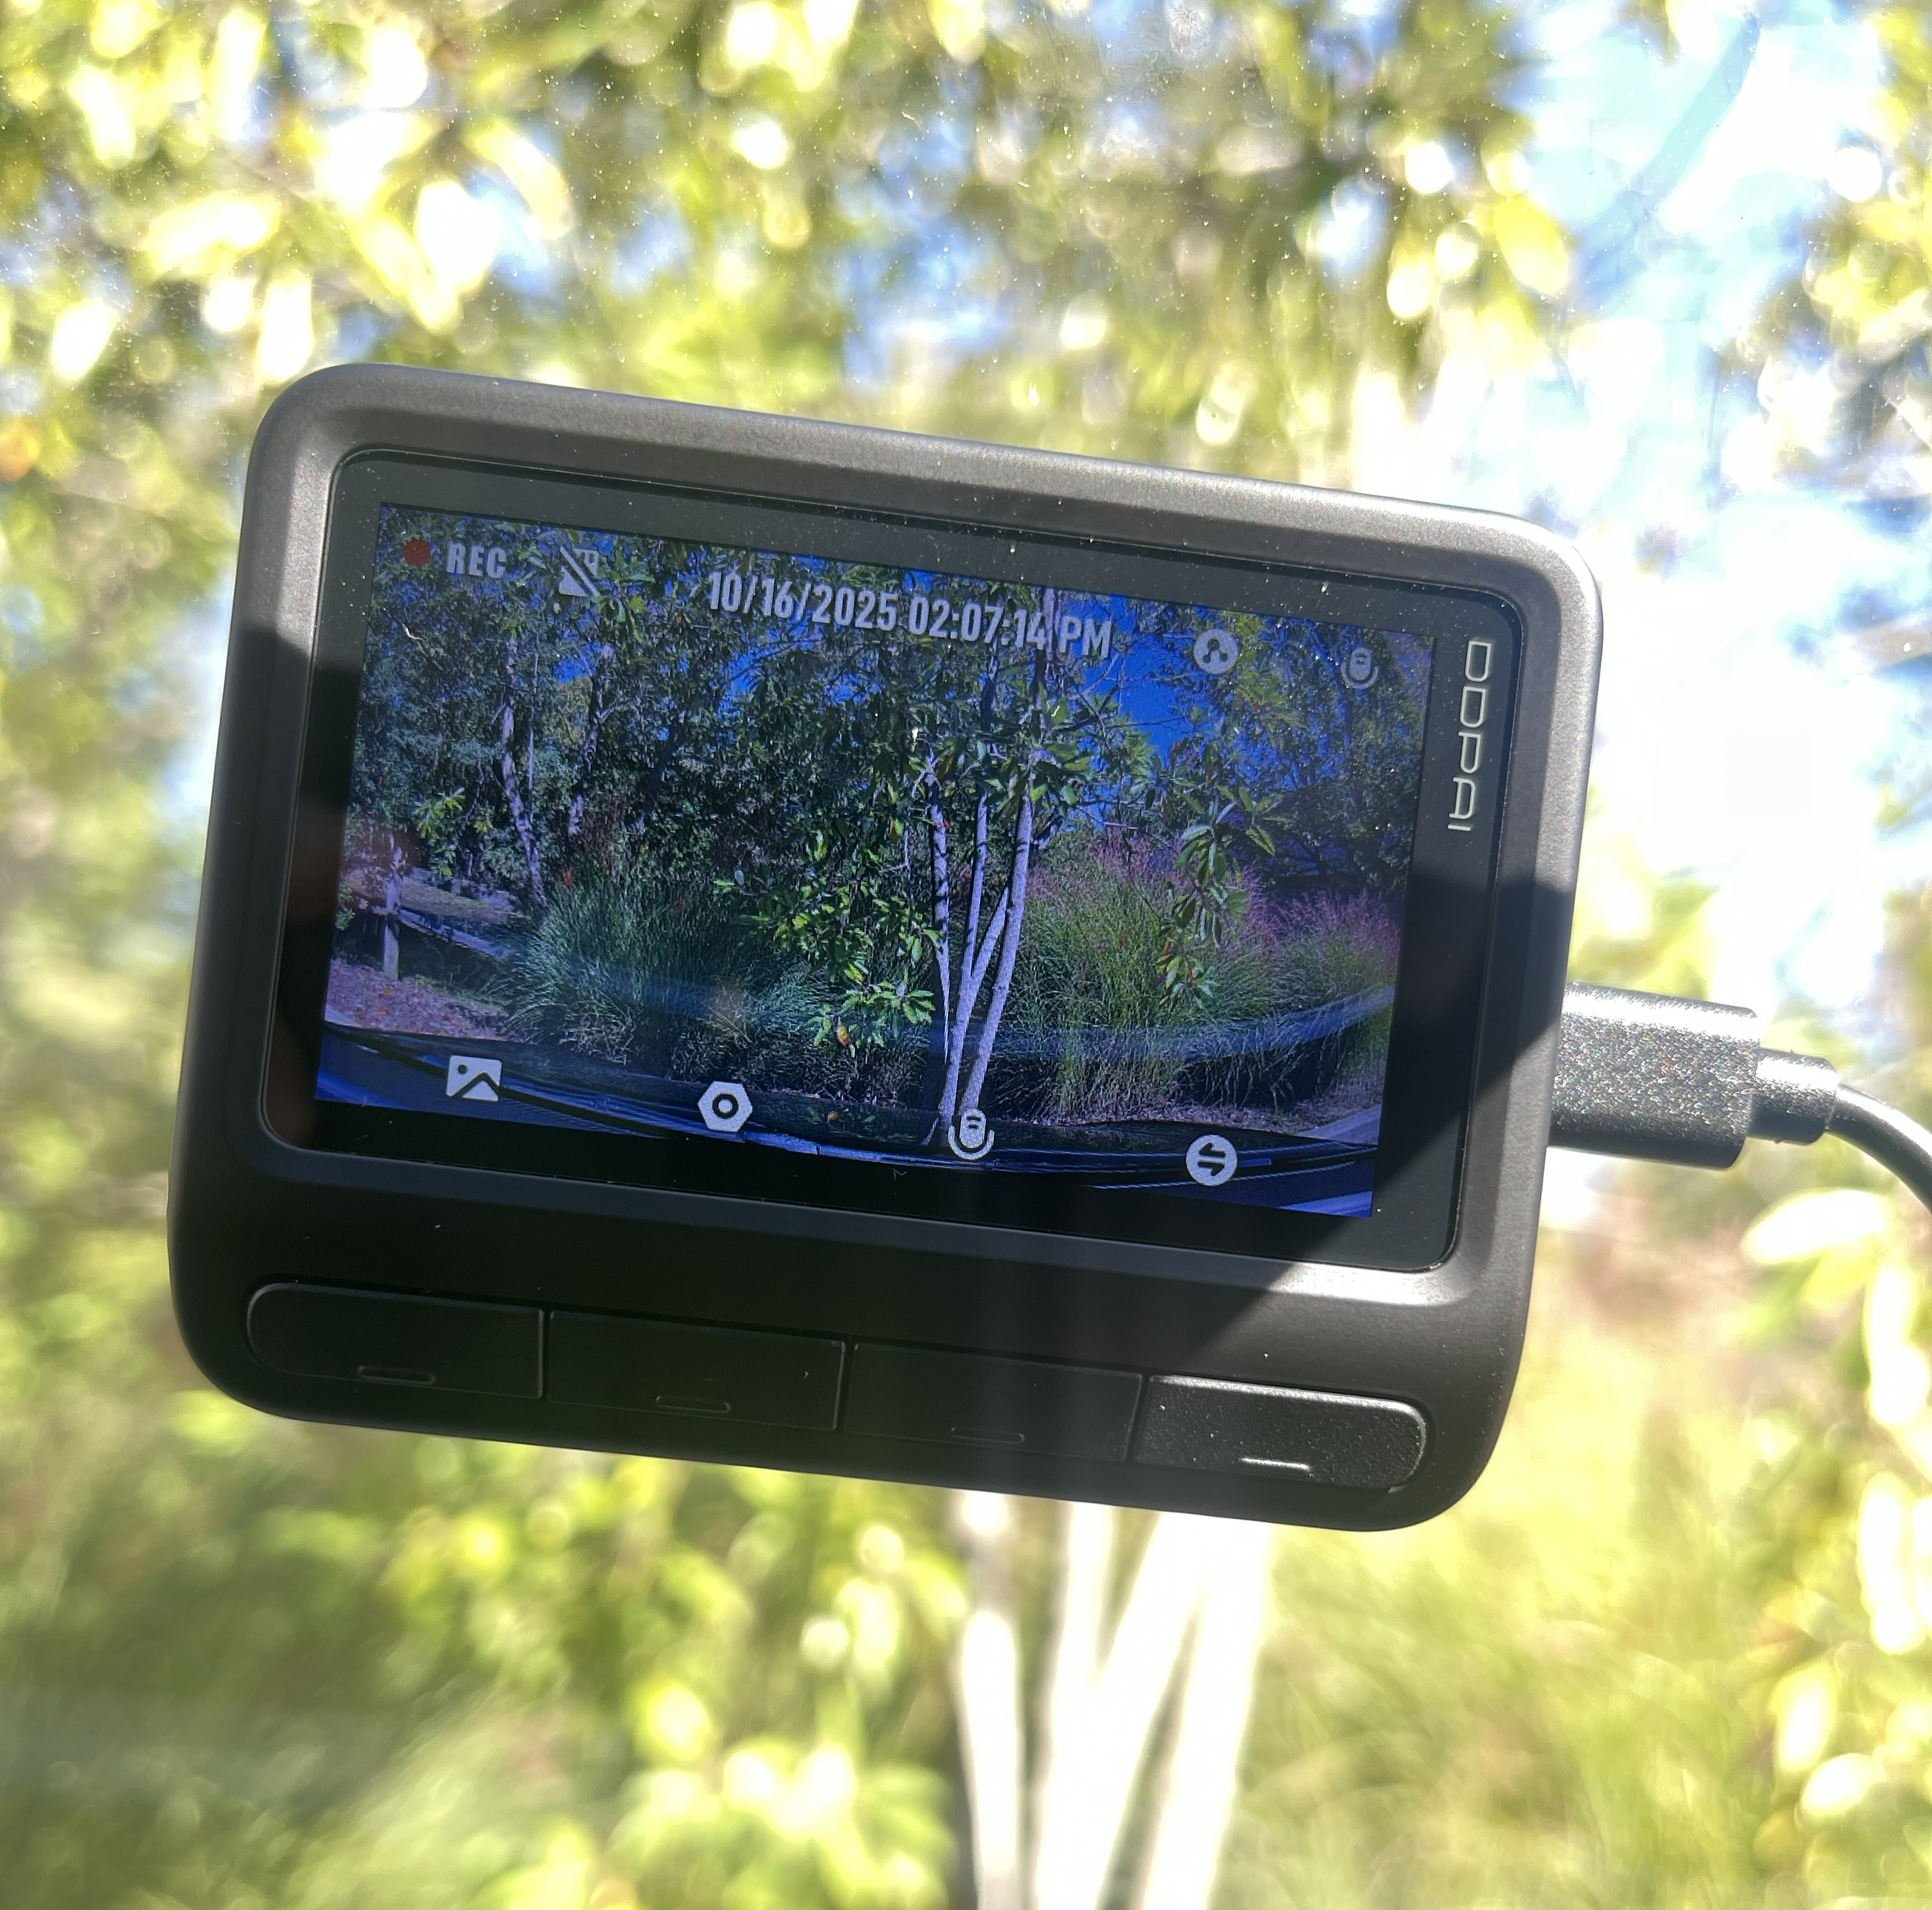
ROAD TEST
So far, I’m really impressed with the build quality of the DDPAI dash camera, as well as the clarity of the videos it captures. Aside from the cable management, it performs exceptionally well—this is a top-notch dash camera product. Stay tuned for an update on how it performs during the upcoming road test!